So I was told by Arielle, from PAA, that you can use scrapbooking rub-ons on your nails! Whaaaaaaaat!? Now I can use some of my scrapbooking supplies that are all collecting dust! Best. Day. Ever!
So I attempted and I succeeded! (see above picture) So now, I will show you, my dear readers, how to do it too! :)
Start with a base color. I chose to use Essence Vampire's Love in The Dawn is Broken. This is a gorgeous light grey polish with a slight shimmer and micro black glitter. The overall effect is a lovely speckle! The formula was wonderful and it applied nicely! This is no clean-up! Yes!
Next add a top coat. I used Seche Vite.
Find your rub-ons
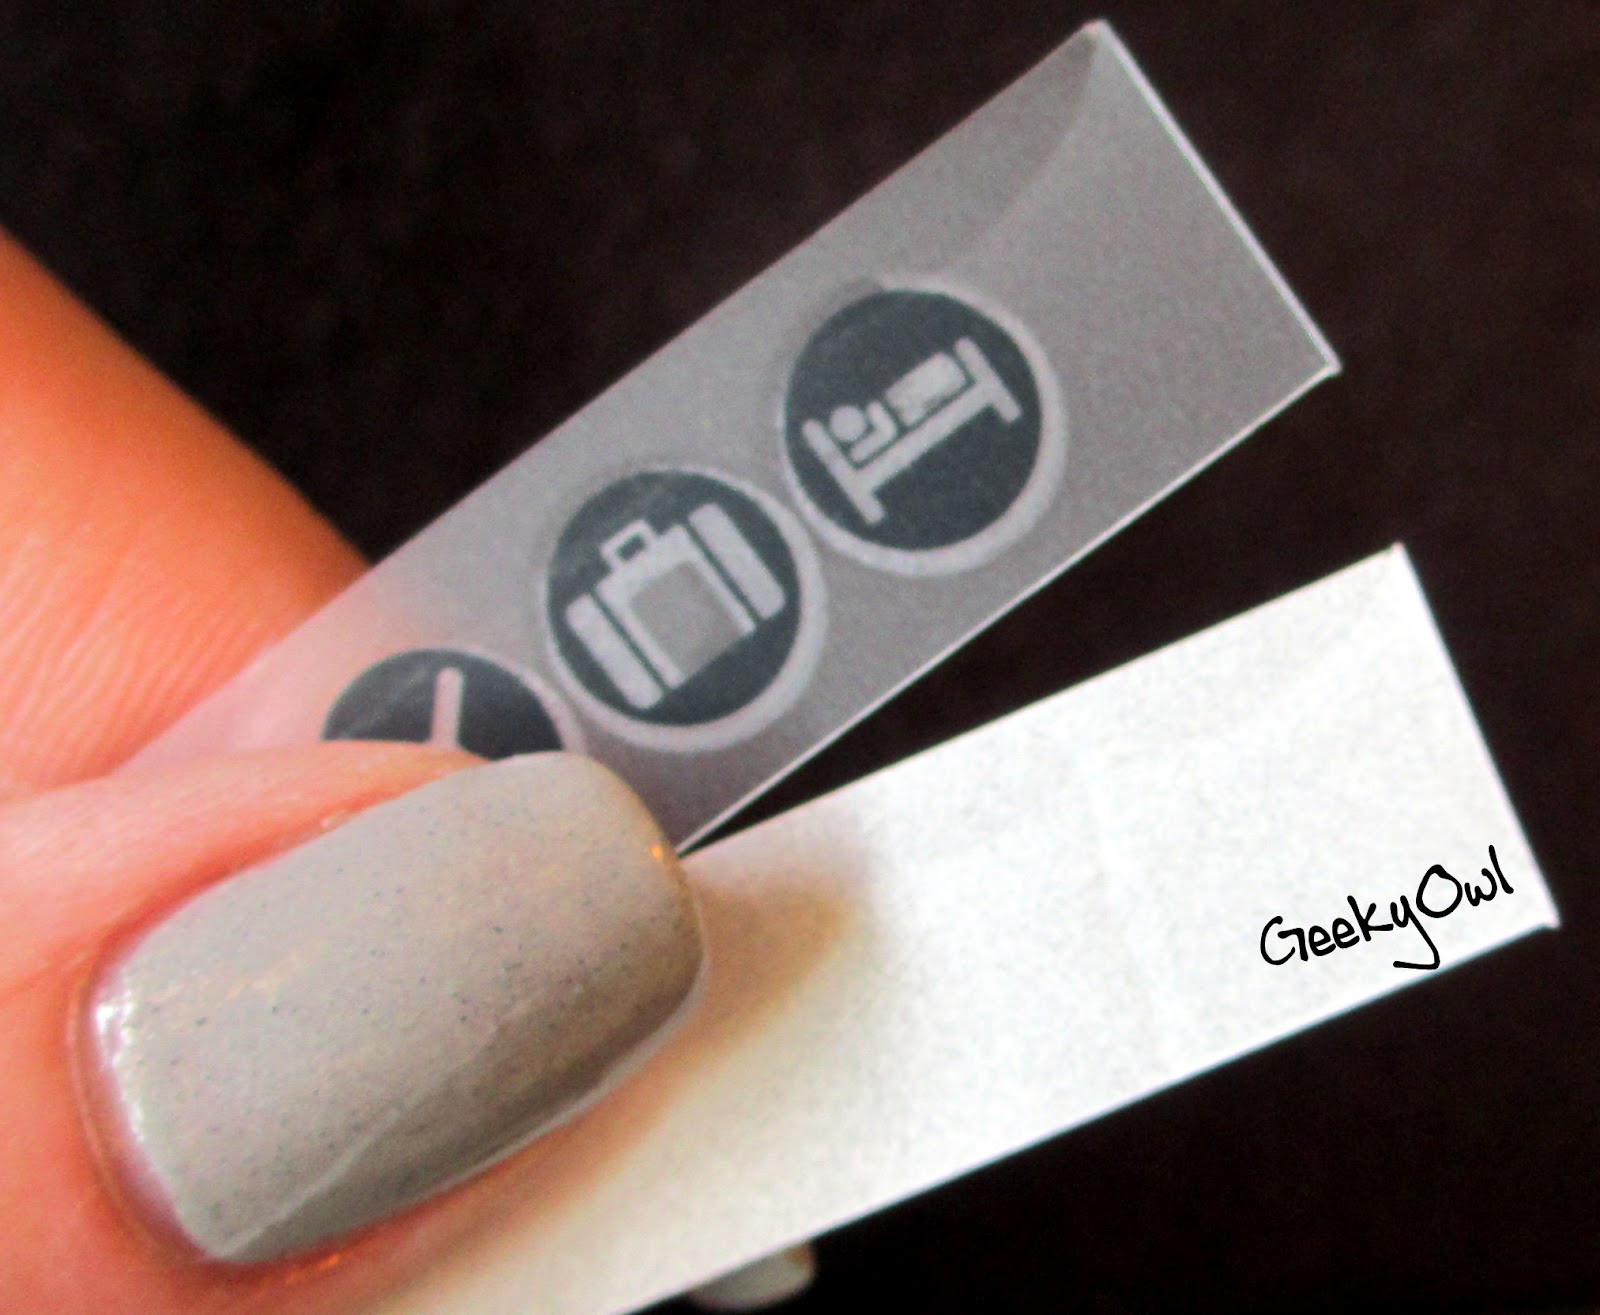
I used American Crafts (one of my favorite companies) mini Marks in Traveler Accents. The above pictures show you the packaging, name, and the different images in the package. There are three different sizes in this package of rub-ons. The smallest being on the top.
Showing you the different sizes. I used the images in the top row.
For those who haven't used rub-ons before there is a backing to them. It is a separate piece of paper, sometimes even tissue-paper like. Keep this with the rub-on until you are ready to use it! Otherwise your rub-on might stick where you don't want it!
Cut out your image that you want to use. I chose two for an accent nail for each hand. Notice I also cut out the backing paper.
Next (and I'm a doofus for not actually taking a picture of this!), but you just remove the backing and place rub-on onto your nail. And voila! You are done! Mine were so sticky that I didn't really need to rub them one my nail. As soon as the rub-on touched my nail it attached! Easy-peasey!
Here's my other hand and the suitcase rub-on. I added a topcoat of Seche Vite to keep the rub-on on!
I can't wait to use up more of my scrapbooking rub-ons! Oh, and since I did this a few days ago and have already changed my mani I thought I would let you know that they come off with normal nail polish remover without any problems or long periods of scrubbing! Extra bonus! :)
What do you think? Is this something you would ever try?